Highlights:
- Prep work makes or breaks the timeline. The tasks that typically slow a build down — digging holes, mixing concrete, and letting footings cure — need to happen before the weekend starts, not during it.
- DIY saves serious money. Building it yourself can cost under $1,000, versus $2,100 to $6,400+ for a professional install, with kits landing somewhere in between.
- Permits and utility checks come first. Skipping this step is the most common way a project gets derailed, so confirm local rules and mark buried lines before any digging begins.
- Posts must be perfectly plumb before anything else goes up. A slight lean at the foundation stage throws off every measurement for the rest of the structure, so it’s worth checking level from multiple angles and letting concrete fully cure.
- Rafter spacing and orientation shape comfort just as much as looks. Tighter spacing and smart positioning relative to the sun’s path can make the finished structure far more usable, especially in hot climates.
If your patio feels more like a frying pan than a place to relax, a pergola might be the fix you have been putting off. The good news is that you do not need a month of weekends or a crew of contractors to get one standing. With a solid plan, the right materials on hand, and two focused days, you can turn a bare slab of concrete or a patch of grass into a shaded hangout spot your whole family will actually use. This guide walks through everything from budgeting to the exact order of operations so you can knock this project out in a single weekend without cutting corners on safety or looks.
Why a Weekend Timeline Actually Works
A pergola sounds like a big carpentry project, but structurally it is pretty simple: four to six posts, a few horizontal beams, and a series of rafters on top. There is no roof to shingle, no plumbing, and usually no electrical work unless you are adding lighting. That simplicity is exactly why a motivated DIYer with basic tools can realistically finish in two days.
The trick is front-loading the work that eats up time mid-project. Digging post holes, mixing concrete, and waiting for footings to cure are the tasks most likely to blow up your schedule. If you handle site prep and material staging before the weekend even starts, the actual build moves fast because you are just assembling pieces rather than solving problems on the fly.
Planning Your Pergola Before You Buy Lumber
Skipping the planning stage is the single biggest reason weekend projects turn into month-long ones. Before you touch a shovel, nail down these basics:
- Size and placement. Measure the space, then sketch it out with the sun’s path in mind. A pergola positioned to block the harshest afternoon light will feel far more usable than one that just looks nice from the kitchen window.
- Attached or freestanding. An attached pergola that ties into your house needs fewer posts and footings, which shaves real time off the build, according to pricing breakdowns from HomeGPT.
- Material choice. Pressure-treated pine is the fastest and cheapest to work with over a weekend. Cedar looks nicer and resists rot better but costs more and may need extra sealing steps.
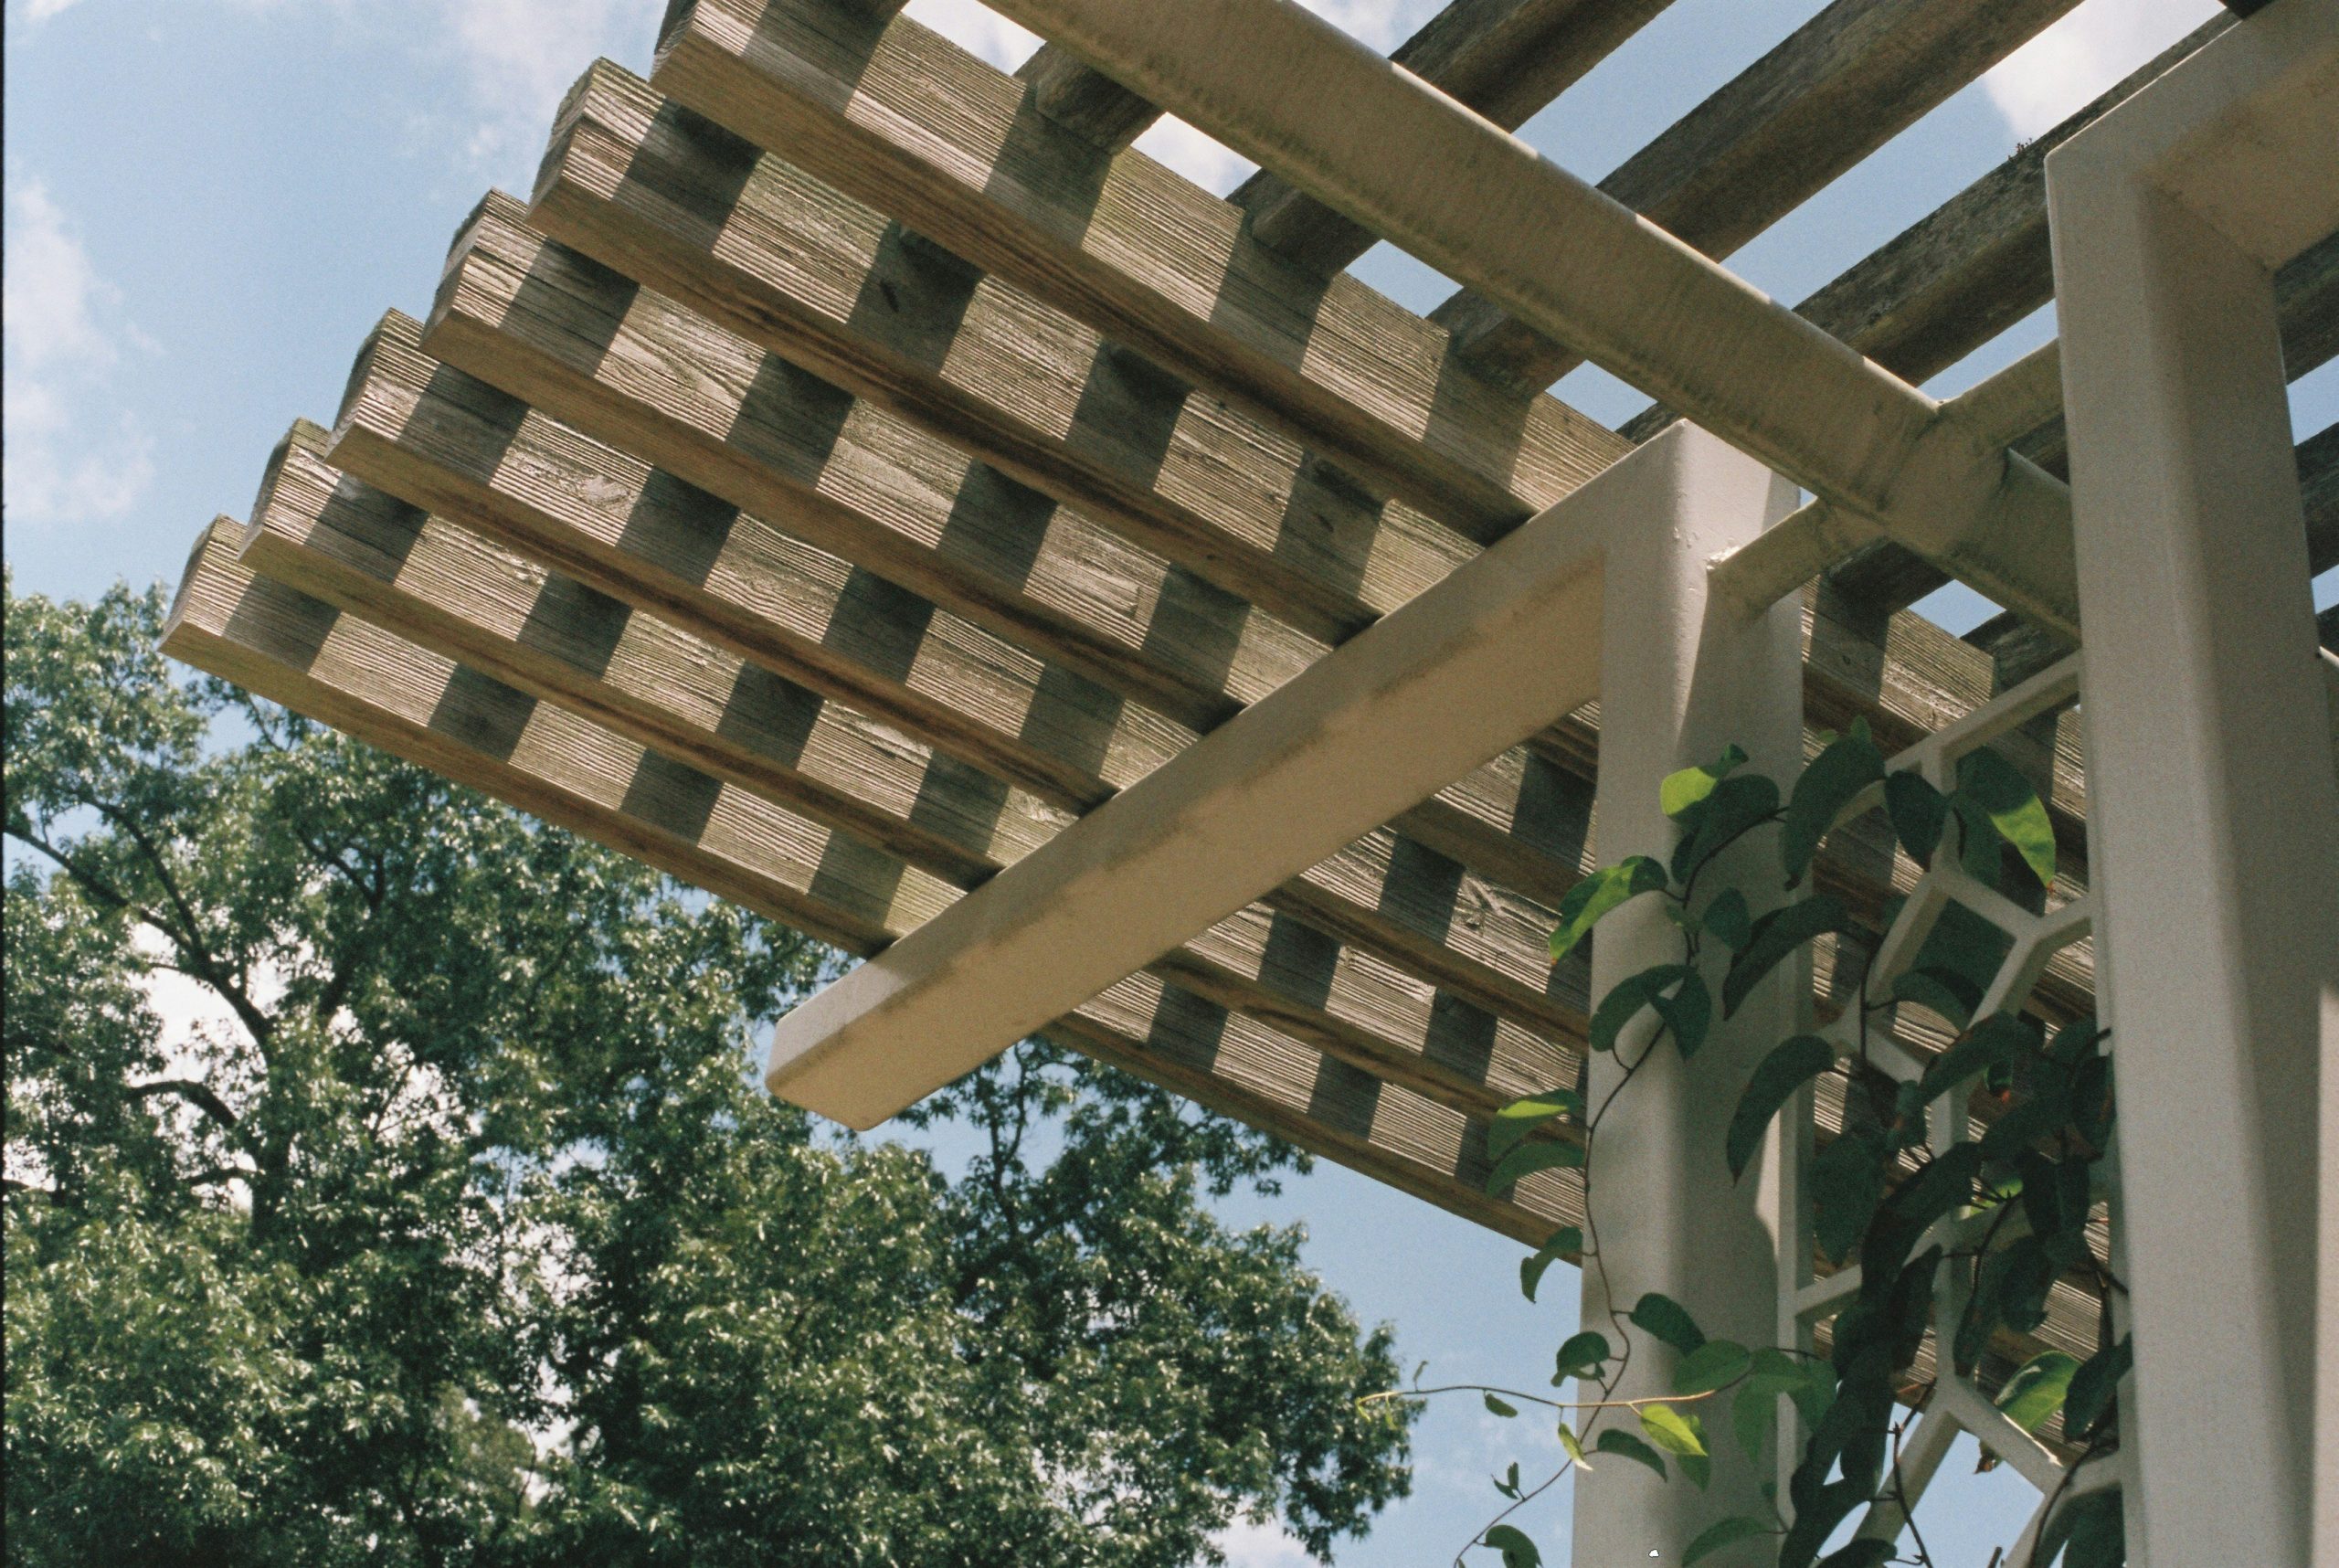
- Roof style. A basic open-slat top is by far the quickest to build. Louvered or motorized roofs look great but are not weekend-friendly projects for most DIYers.
Sketch a simple materials list once you have settled on dimensions, and order everything at least a few days ahead so you are not making an emergency lumber yard run mid-build.
It also helps to think about how the pergola will actually get used before you finalize the footprint. A structure meant to shade a small bistro table needs a very different scale than one meant to cover a full outdoor dining set or a hot tub. Walk the space with a tape measure and mark the corners with stakes so you can physically stand inside the proposed footprint. It is much easier to catch an awkward layout this way than after the posts are already in concrete. Consider sightlines from inside the house too, since a poorly placed post can end up blocking a favorite window view for years.
Budgeting for a Fast Weekend Build
Cost is often the deciding factor between hiring it out and doing it yourself, and the gap is significant. Industry pricing data from Angi shows that professional installation typically runs between roughly $2,100 and $6,400 for a standard 100-square-foot structure, with labor making up about a fifth of that total. Building the same structure yourself changes the math considerably.
Here is a rough sense of what different approaches cost, based on figures compiled by LawnLove and HomeGuide:
- A from-scratch DIY build using basic lumber can come in under $1,000 for a modest footprint.
- A DIY kit, where the pieces are precut and predrilled, typically runs $700 to $4,000 depending on size and material.
- Hiring a contractor for the same footprint generally lands between $2,100 and $6,435.
Kits are worth a serious look if your weekend timeline is tight. You lose some customization, but you gain speed since the measuring and cutting work has already been done for you. Whichever route you choose, remember that permits, concrete footings, and any staining or sealing are usually separate line items that are easy to forget when you are budgeting.
Size is the other major cost driver worth planning around. Pricing data from Arrow Outdoor Living shows that a modest 10-by-10-foot structure typically runs on the lower end of the price spectrum, while jumping up to a 20-by-20-foot pergola can push the total well past $8,000 once you account for the extra materials and structural support larger spans require. If you are building solo over a weekend, staying closer to that smaller footprint is not just cheaper, it is also far more realistic to finish in two days. You can always expand later once you have the skills and confidence from a first successful build.
Tools and Materials Checklist
Having everything on site before Saturday morning is what actually makes a weekend build possible. Gather these ahead of time:
- Post hole digger or gas-powered auger
- Circular saw or miter saw
- Drill/driver with extra bits
- Level (a 4-foot level plus a smaller torpedo level)
- Speed square and tape measure
- String line and stakes for layout
- Concrete mix, or post anchors if you are not sinking posts into the ground
- Lag bolts, structural screws, and galvanized post brackets
- Wood stain or sealant, if finishing the same weekend
- Safety glasses, gloves, and ear protection for power tools
Renting a two-person auger for the day is often worth the cost. Hand-digging four to six post holes to the correct depth is one of the most exhausting parts of the project, and a rented auger can cut that task from hours down to minutes.
Do not overlook the smaller items either. A box of extra screws in a couple of different lengths, a chalk line for marking straight cuts, and a handful of wood shims for fine-tuning level are the kinds of small things that stall a project when you realize halfway through Saturday that you are out. It is worth doing a dry inventory the night before, laying every tool out on a table or in the garage and checking it off against your list, so the morning of the build is a grab-and-go operation rather than a scavenger hunt through the shed.
Checking Permits and Property Lines
This step gets skipped more than any other, and it is the one most likely to derail your project after the fact. Permit requirements vary widely by city, but according to cost guides from HomeGuide, many municipalities require one once a structure passes a certain size threshold, even for freestanding designs, and permit fees themselves are usually modest.
Before your build weekend:
- Call your local building department or check their website for pergola-specific rules.
- Confirm setback requirements from property lines and any fences.
- If you have an HOA, check their guidelines separately from city code, since HOAs often have stricter aesthetic rules.
- Call 811 or your local utility locator service to mark buried lines before you dig.
None of this takes more than an afternoon, and doing it the week before your build weekend means you will not be stuck mid-project waiting on an inspector or, worse, tearing down posts you were not supposed to put in.
Day One: Laying Out and Setting Posts
With materials on site and permits squared away, Saturday is all about the foundation.
Morning: Layout
Use stakes and string lines to mark exactly where each post will go. Double-check every measurement against your plan, and confirm the layout is square by measuring both diagonals of the rectangle; if they match, your corners are true.
Midday: Digging and Setting Posts
Dig each hole to the recommended depth for your climate, generally below the frost line in colder regions. Set posts in the holes, brace them with scrap lumber so they stay perfectly plumb, and pour concrete around the base. Check level on two sides of every single post before the concrete sets, because a post that leans even slightly will throw off every measurement above it.
Afternoon: Let It Cure
Concrete needs time to firm up before it can bear weight, so plan on several hours of downtime here. Use this window to pre-cut your beams and rafters so Sunday moves faster. Fast-setting concrete mixes can shorten this wait considerably if your schedule is especially tight.
By the end of day one, you should have plumb, secure posts and a stack of pre-cut lumber ready for assembly.
A few small habits make a big difference during this stage. Check each post’s level from two different sides, not just one, since a post can look perfectly straight from the front and still be leaning several degrees to the side. Keep your bracing in place until the concrete has had real time to set, even if that means it stays overnight. It is tempting to pull the braces early once things look solid, but a post that shifts even slightly before the concrete cures fully can throw off every measurement for the rest of the build.
Day Two: Beams, Rafters, and Finishing Touches
Sunday is where the structure actually starts to look like a pergola.
- Attach the beams. Secure the horizontal beams across the tops of your posts using structural screws and metal brackets rather than relying on nails alone. This is the connection that carries the most load, so do not skimp on hardware here.
- Install the rafters. Space the rafters evenly across the beams. Tighter spacing creates denser shade, while wider spacing lets in more light and airflow.
- Add cross bracing. Diagonal braces at the top of each post add rigidity and help the whole structure resist wind and shifting over time.
- Sand and finish. If you are staining or sealing the wood, do it now while the structure is fully accessible from every angle.
- Final inspection. Walk the entire structure and re-check every bolt and bracket for tightness before calling it done.
Most DIYers wrap up by late Sunday afternoon, leaving just enough daylight to enjoy a cold drink under your new shade structure.
Take your time on the bracket connections even if the clock is working against you. A pergola takes real wind load across that open lattice roof, and undersized or missing hardware is the most common reason a structure fails years down the road rather than something that shows up on day one. If you are working with a helper, it speeds things up considerably to have one person holding rafters in place while the other drives screws, rather than trying to balance and fasten solo on a ladder.
Choosing the Right Shade Level for Your Climate
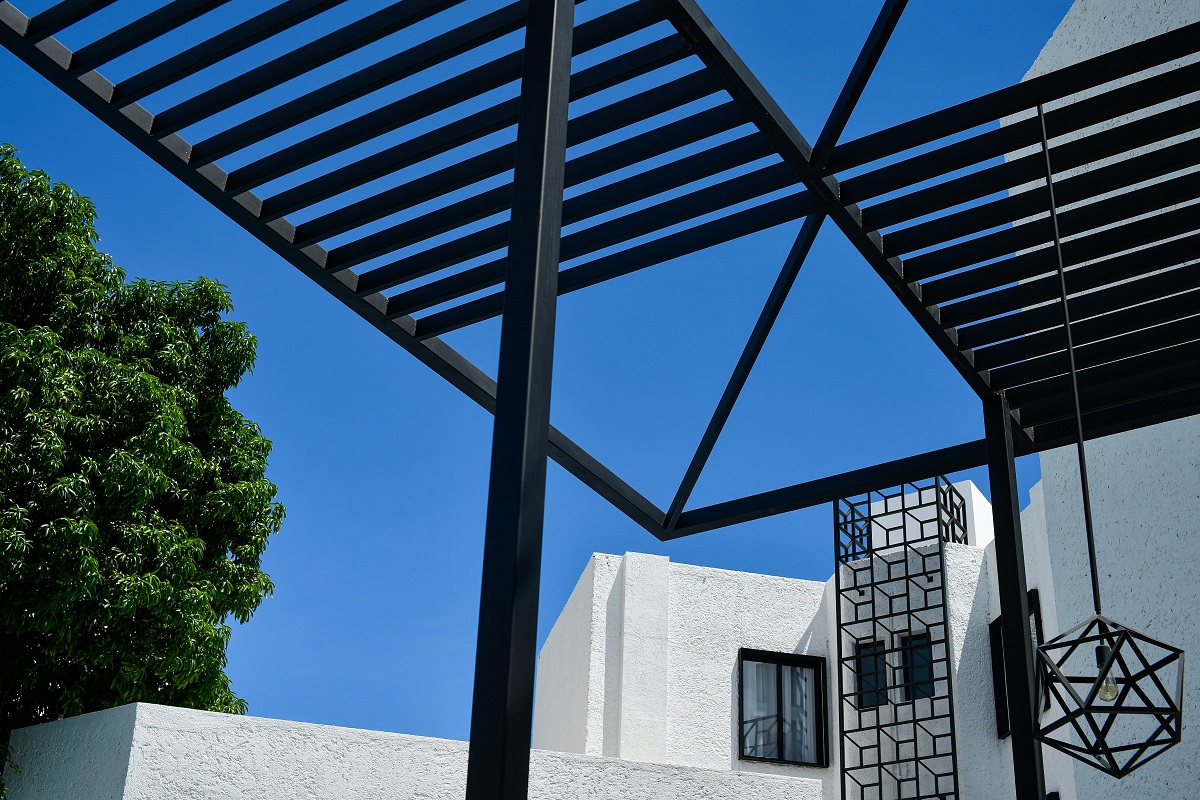
Not every pergola needs to block 100 percent of the sun, and figuring out your ideal shade level ahead of time will shape decisions you make during the build, like rafter spacing and whether to add a fabric or lattice topper. Research summarized by Modern Shade points out that tighter rafter spacing and features like climbing vines can meaningfully cut down on heat, while a standard open-slat design mostly provides the dappled, filtered light you would get under a tree canopy rather than deep shade.
If you live somewhere with intense summer sun, consider these adjustments as part of your weekend build:
- Orient the rafters to run perpendicular to the sun’s strongest angle during the hours you use the space most.
- Space rafters closer together on the side that gets the harshest afternoon exposure.
- Plan ahead for a retractable canopy or shade cloth you can add later without modifying the frame.
This is one of the more popular outdoor projects that improve shade without requiring a permanent roof, which is part of why pergolas remain such a common backyard upgrade. Getting the orientation and spacing right during the initial build saves you from having to retrofit shade solutions down the road.
Simple Ways to Speed Up the Build
If Sunday evening is creeping up and you are behind schedule, a few adjustments can help you claw back time without compromising the structure:
- Switch from poured concrete footings to post anchors bolted onto an existing concrete pad, which skips the curing wait entirely.
- Buy a precut kit instead of milling your own lumber, since measuring and cutting is usually the slowest part of day one.
- Recruit a second set of hands for the post-setting stage. Holding a post plumb while someone else checks level and pours concrete is nearly impossible to do solo.
- Pre-drill all your holes for lag bolts the night before, so Sunday is pure assembly rather than stopping to swap drill bits constantly.
None of these shortcuts sacrifice structural integrity. They just eliminate the friction points that tend to eat unplanned hours.
Maintenance Tips to Keep It Looking Great
Once your pergola is standing, a little upkeep keeps it looking sharp for years. Wood structures generally benefit from restaining every couple of years depending on your climate and sun exposure, while aluminum and vinyl options need little more than an occasional rinse. Check bolts and brackets once a year, since wood naturally expands and contracts with the seasons and hardware can loosen over time. If you added a fabric shade or retractable canopy, plan on replacing it every several years as UV exposure gradually breaks down the material.
A quick spring inspection, checking for soft or splitting wood, loose connections, and any signs of rust on hardware, will catch small problems before they become expensive ones.
It is also worth thinking about how the space around your pergola will evolve over time. Many homeowners add string lights, a ceiling fan, or potted climbing plants along the posts once the base structure has settled in for a season. These additions are much easier to plan for if you left a little extra clearance during the build, so consider mounting a few extra brackets or hooks now even if you do not plan to use them right away. A little foresight during construction can save you from drilling into finished wood later.
Final Thoughts
Building a pergola in a weekend is absolutely doable if you put in the prep work before Saturday morning even arrives. Nail down your design, gather every tool and material ahead of time, and handle permits early so nothing stalls your progress mid-build. Do that, and by Sunday evening you will be relaxing under a shade structure you built yourself, ready to enjoy for years to come.